Right out of the gate I gotta say: blockchain explorers can feel like digital microscopes. Wow! They let you zoom into a single transaction or sweep across an entire token’s history. At first glance the data is intimidating, though actually it’s just structured logs once you get used to the rhythm of entries and account addresses. My instinct said “avoid the rabbit hole,” but then I kept digging anyway.
Whoa! I’m partial to tools that get to the point quickly. Really? Yes. I often start with a tx hash and want the who-what-when fast. Over the years I’ve developed a short checklist for reading entries so I don’t chase red herrings—timestamp, fee payer, instruction set, and inner program logs. On one hand those fields are boring metadata; on the other hand they frequently contain the clue that explains why a swap slopped or why an NFT mint failed (and yes, somethin’ that bugs me is the inconsistent error messaging across programs).
Hmm… the first time I traced an airdrop back to its origin I felt oddly triumphant. That was a simple moment. Later, when a smart contract mispriced fees, I realized explorers are indispensable for audits and post-mortems. Initially I thought a basic block viewer was enough, but then I realized depth matters—a lot. Actually, wait—let me rephrase that: quick looks are fine for casual checks, but deep dives reveal patterns you can’t see from high level dashboards.
Okay, so check this out—there are three practical things I use an explorer for every week. First: realtime transaction debugging when something in a wallet doesn’t go through. Second: token tracing when tokens move across bridges or when suspicious airdrops appear in a wallet’s history. Third: analytics for spotting emergent tokens that are gaining real on-chain momentum (not just social hype). And yeah, sometimes those “emergent” signals are noise, very very noisy, so patience helps.
What to look at when you’re tracking a token
Start with the token’s mint address and the token holder list. Wow! The holder distribution tells you if a token is actually decentralized or controlled by a handful of wallets. If the top 10 hold 90% it’s a red flag. Check the recent transfer velocity—high velocity with low unique holders can mean wash trading or bots moving liquidity; on the flip side, steady, organic transfers between many addresses usually indicate real utility. I prefer to cross-check supply updates and freezes, since some tokens have supply control that isn’t obvious from the UI alone.
Here’s what bugs me about some explorers: they surface raw events but hide interpretive context (oh, and by the way, that matters). Hmm… sometimes a “mint” event is actually a program-side distribution that doesn’t change circulating supply the way you think. On the Solana side you should also watch for wrapped tokens and native SOL movement into associated token accounts; those nuance points are easy to miss, especially if you’re skimming. I’m biased toward explorers that show both instruction-level detail and higher-level charts because you need both micro and macro views.
When I’m running a quick forensic check I look at the instruction stack, then the inner logs, then the pre- and post-token balances. Really? Yes, that’s the triage sequence that usually resolves “why did my swap fail?” questions. The instruction names alone (transfer, mint_to, approve, close_account) can point you to the offending step. Then the inner program logs often include print statements or program-returned errors—those are gold. On complex transactions with multiple program calls, mapping each instruction to the program ID helps you see which contract shifted state unexpectedly.
One thing I’ve learned: not all token trackers treat burned supply the same way. Wow! Some explorers deduct burned tokens instantly; others leave the mint supply showing and add a “burn” event list. That difference matters for quick market cap math. If you’re building a valuation model, use the explorer’s export features or API to get canonical supply snapshots, then validate against on-chain snapshots for the block height you care about. That extra step saved me from overvaluing a token once when a large burn happened right after my snapshot—ouch.
Seriously? Yes—audits and analytics are different animals. Audits need deterministic evidence. Analytics wants trend signals. So I treat explorers as the primary source for audits and as a signal generator for analytics workflows. My workflow usually begins on the explorer and then branches to offchain data for sentiment and order book confirmation. Initially I relied entirely on social signals, but then I realized they often lag or lead false positives; on-chain signals are cold hard facts that help filter the noise.
Check this out: for everyday use, a few UI features dramatically speed things up. Search by address, copy transaction hash with one click, visualize token flow with simple Sankey or graph mappings, and export CSV. Wow! Those small UX touches save lots of time when you’re juggling multiple investigations. The best explorers will also provide decoded instruction names and link directly to program docs or source when available. I appreciate that because it reduces guesswork—though sometimes the docs are outdated, so expect to double-check.
On privacy and security: be mindful that searching an address and reading its history is transparent by design. Hmm… if you paste an address into a public tool you might inadvertently share an investigative trail. For example, if you regularly probe addresses connected to a startup, someone watching could infer interest. So I mix private endpoint queries with public checks to avoid leaving a visible breadcrumb trail when I don’t want one. Also, watch for phishing clones of popular explorers; always verify the URL and never paste private keys anywhere, ever.
When a token starts moving quickly I do a small experiment: watch a handful of new holders over the next 48 hours. Really? It sounds tedious but it works. Track how those holders source tokens (buy from DEX? receive airdrop? bridge?) and how quickly they move them out. If many new holders immediately consolidate to a single exchange or wallet, that’s a centralization signal. On the other hand, if holders trade peer-to-peer across DEX pools, that’s usually a healthier distribution. I’m not 100% sure of every edge case, but this heuristic has caught a few sketchy launches.
I’ve been using explorers daily in both staging and production environments, and a personal habit I recommend is saving blocks of interest as bookmarks (or exporting the raw JSON). Wow! That makes later cross-referencing painless. I once had to reconstruct a failed multisig deployment and those exported logs were the difference between a night of frustration and a quick morning fix. There are somethin’ about having the raw data saved offchain that just feels reassuring—call it analyst’s OCD.
FAQ
How do I verify a token’s legitimacy on Solana?
Look at the mint address, holder distribution, and recent token flows. Also check program IDs invoked during mint or transfer, review verified project metadata, and cross-check with the team’s official channels. If something smells off—large concentrated holdings, sudden mass sell-offs, or opaque mint authority—that’s a red flag.
Which explorer do you use most?
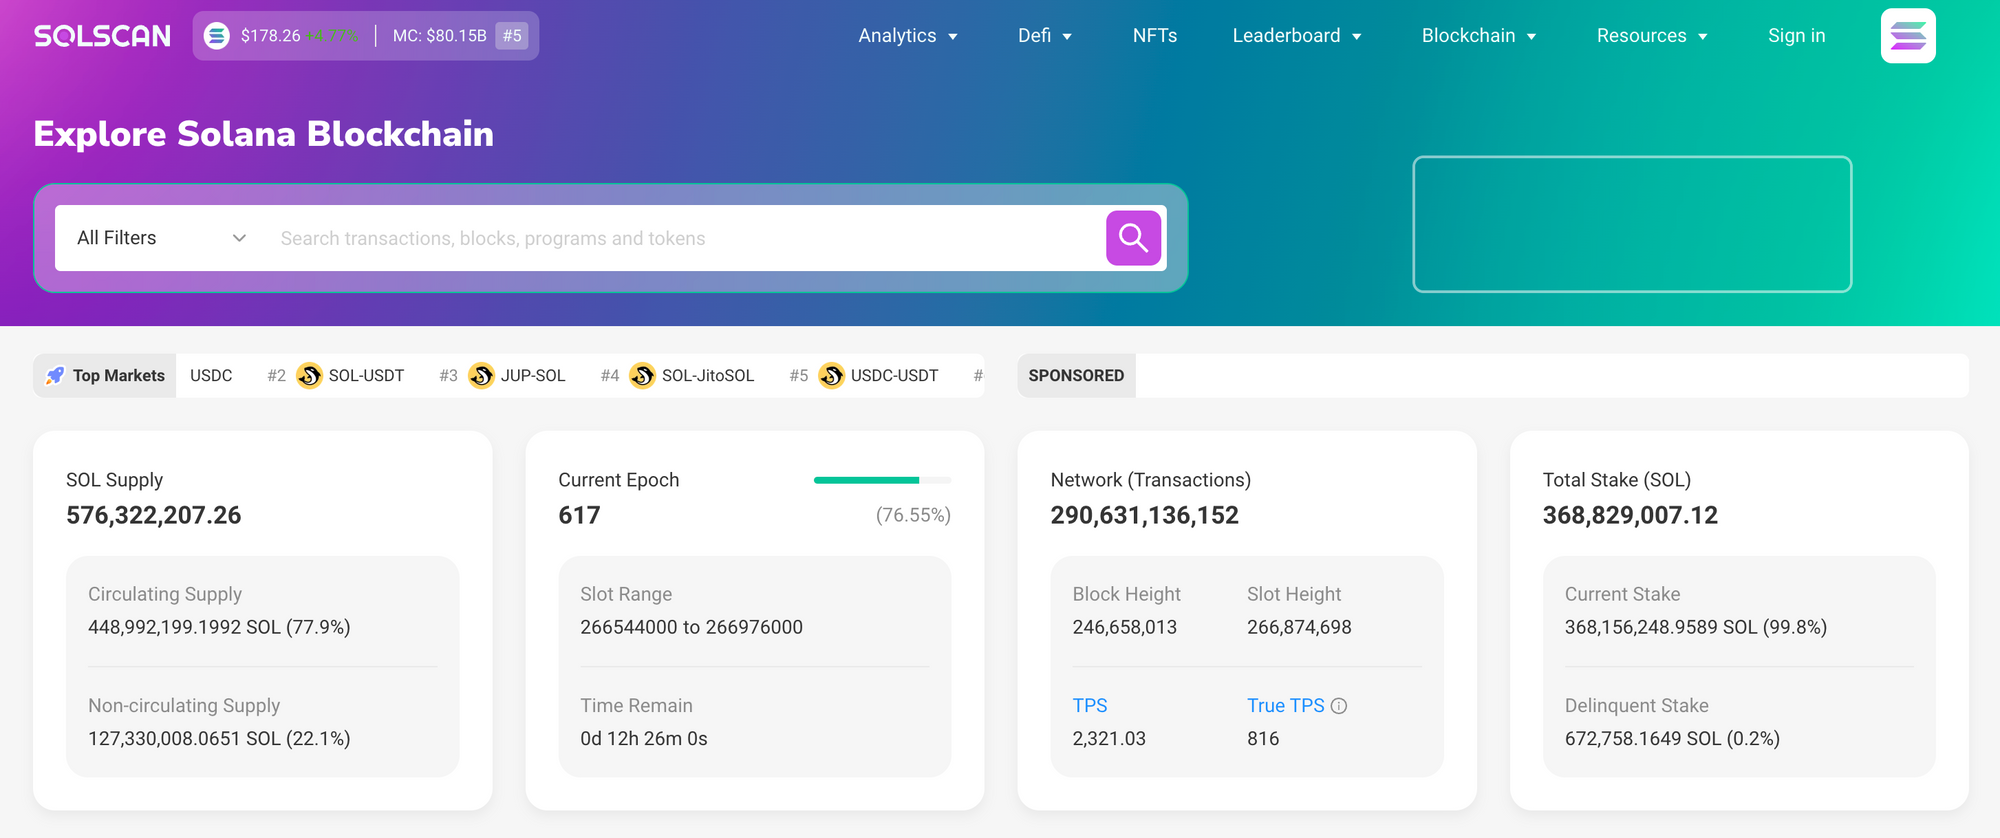
I rely on multiple tools, but for quick digs and token tracing I often use solscan because it balances raw instruction detail with accessible charts. That said, I’m biased and I switch tools depending on the task.
Can I trust on-chain analytics to avoid scams?
They help, but they don’t guarantee safety. On-chain evidence reduces uncertainty: you can see flows, holdings, and program behavior. Still, coupling on-chain checks with offchain verification, community signals, and common-sense red flags yields the best defense.